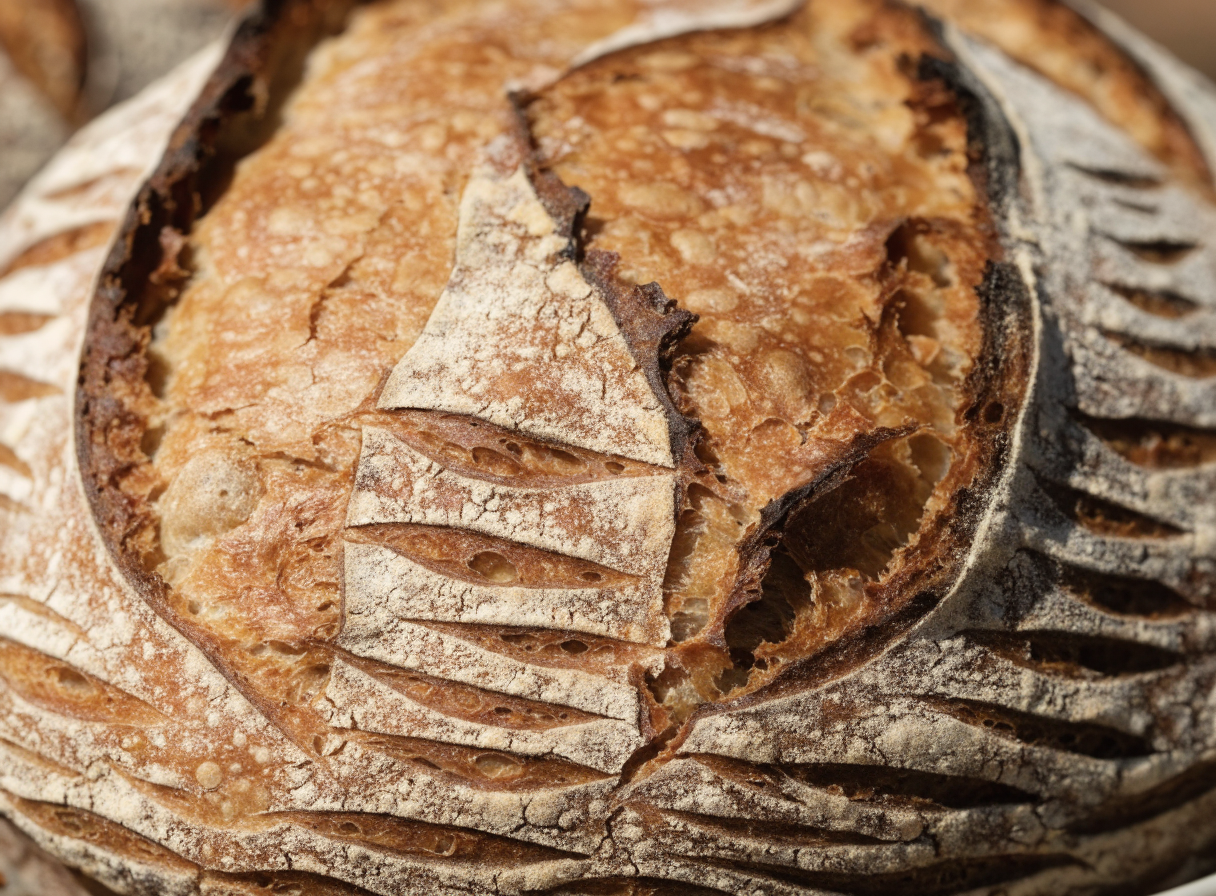
Easy Homemade Sourdough Bread is the ultimate rewarding baking project, yielding a stunning, crackly crust and an open, chewy crumb using just flour, water, salt, and an active starter.
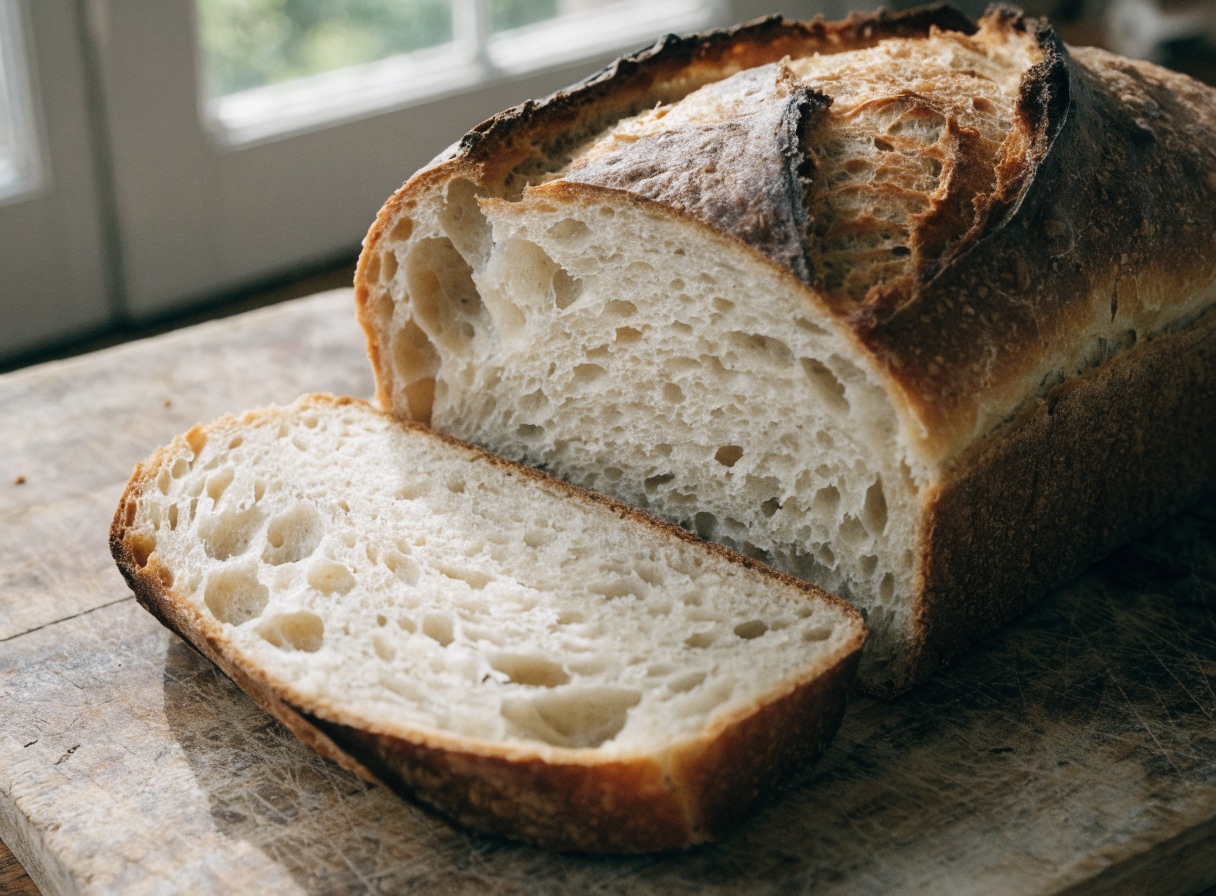
Baking artisan-style bread at home often carries an intimidating reputation. Many home bakers assume that achieving bakery-quality loaves requires years of culinary school, expensive commercial mixers, or unpredictable environmental controls. However, mastering an easy homemade sourdough bread recipe is entirely achievable for anyone willing to follow a simple, methodical routine. By stripping away complicated technical jargon and focusing on fundamental principles, you can consistently pull a gorgeous, golden loaf out of your oven.
Why This Works
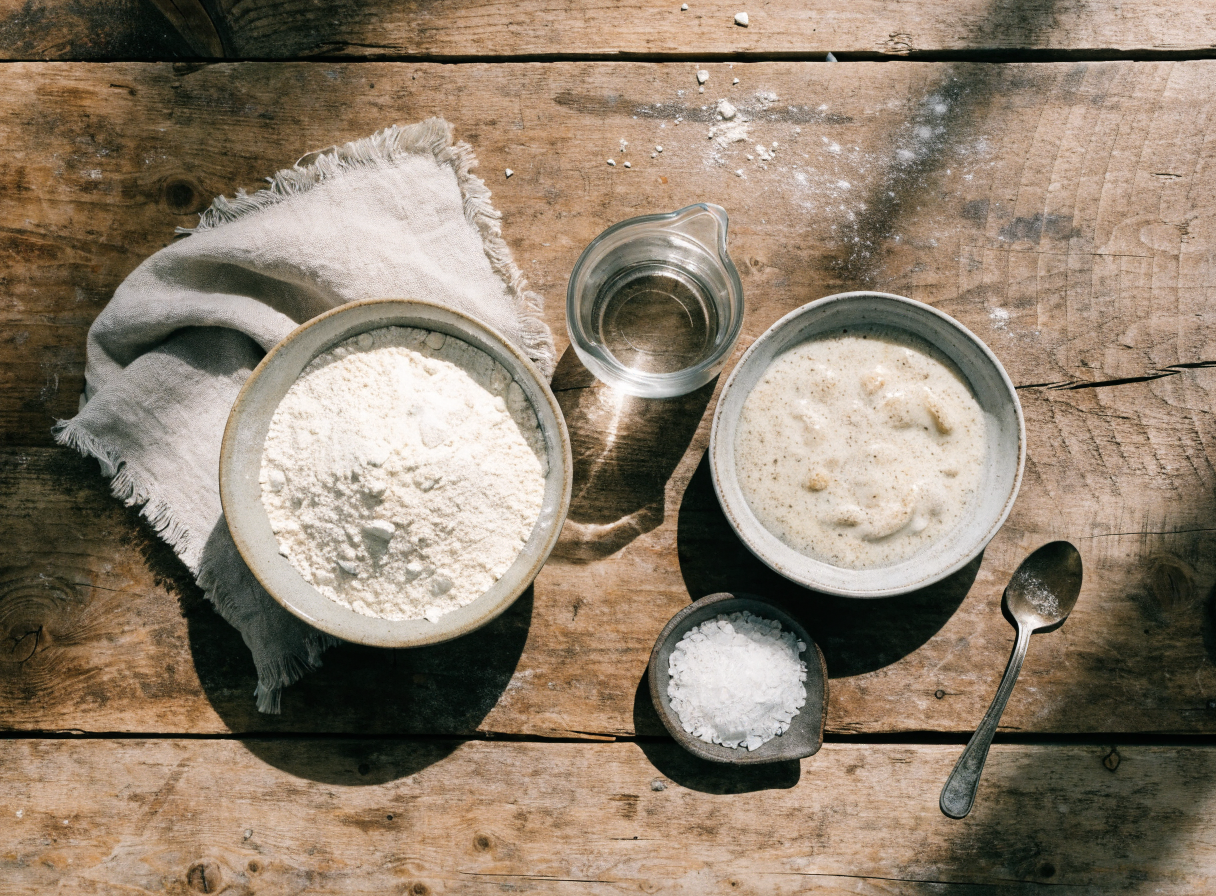
This recipe relies on a high hydration percentage combined with a gentle stretch-and-fold method rather than aggressive kneading. This builds robust gluten structure naturally while preserving delicate gas pockets created by wild yeasts, resulting in an airy crumb without heavy machinery. Furthermore, baking inside a preheated cast-iron Dutch oven traps steam during the initial stages of the bake, allowing the dough to expand fully before the crust sets.
At-A-Glance Summary
- Prep Time: 30 minutes
- Bulk Fermentation: 4 to 6 hours
- Proofing: 12 to 24 hours (refrigerated)
- Cook Time: 45 minutes
- Total Servings: 12 slices
- Difficulty: Beginner-Friendly
- Key Substitutions: Substitute up to 20% of the bread flour with whole wheat or rye flour for a rustic flavor profile.
The Essential Ingredients and Equipment
To create a truly exceptional loaf of easy homemade sourdough bread, you do not need a pantry full of specialty additives. In fact, true sourdough relies on the absolute purity of its components. Your primary focus should be on sourcing high-protein unbleached bread flour, which provides the necessary structural backbone to trap carbon dioxide gas during fermentation.
Here is what you will need to gather before you begin your baking journey:
- 500g Unbleached Bread Flour: Essential for high gluten development and a chewy interior texture.
- 350g Filtered Water: Kept slightly lukewarm (around 80°F to 85°F) to kickstart microbial activity.
- 100g Active Sourdough Starter: Must be bubbly, lively, and at peak activity (fed 4 to 8 hours prior).
- 10g Fine Sea Salt: Crucial for tightening the gluten network and balancing the natural lactic and acetic acid flavors.
Beyond the raw ingredients, having the right tools makes all the difference. You will need a digital kitchen scale (measuring in grams is non-negotiable for consistent bread baking), a large mixing bowl, a bench scraper, a banneton proofing basket, a sharp razor lame for scoring, and a heavy cast-iron Dutch oven with a lid.
Step-by-Step Instructions for Easy Homemade Sourdough Bread
Follow these precise steps to transform simple pantry staples into a masterpiece of artisanal baking. Take your time, enjoy the sensory experience of working with live dough, and remember that patience is your most valuable ingredient.
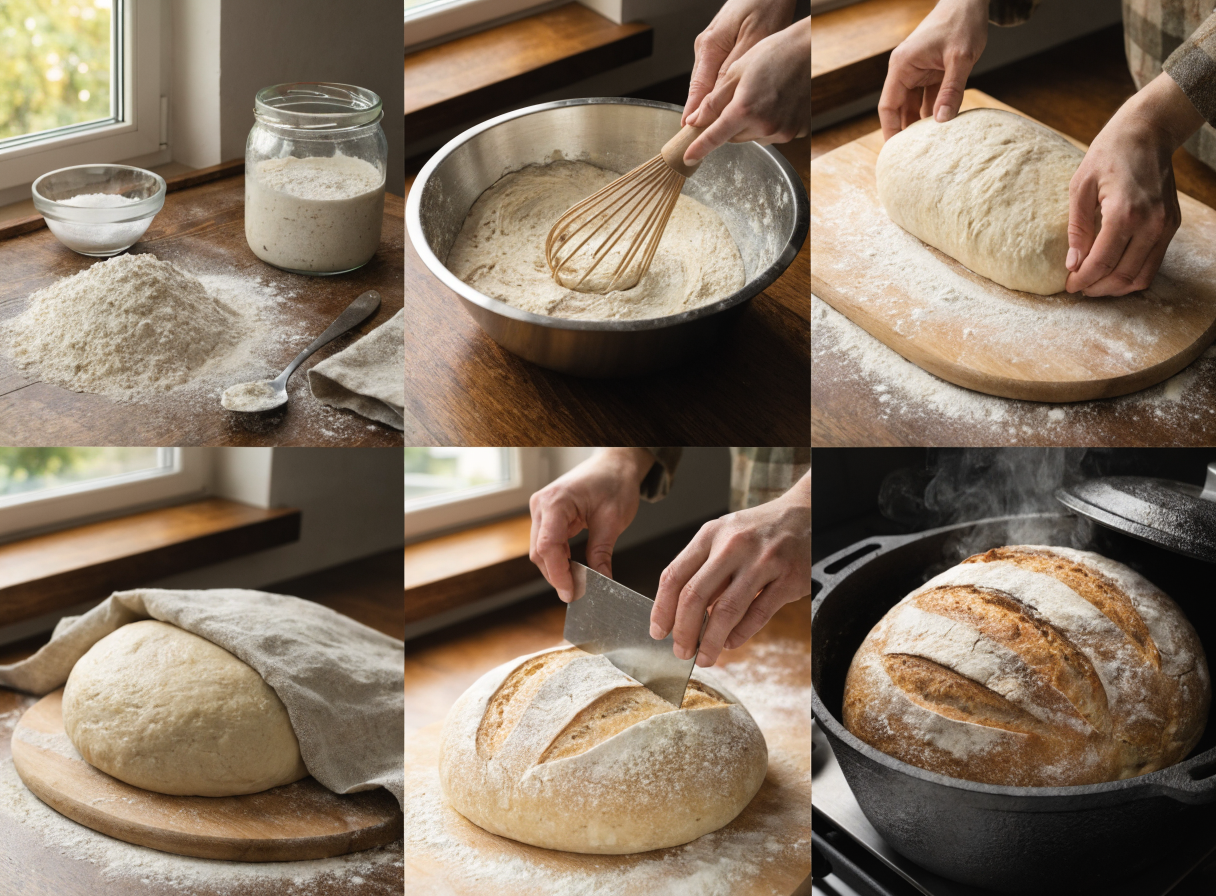
- Autolyse and Mix: In a large mixing bowl, combine 350g of lukewarm filtered water and 100g of bubbly active sourdough starter. Stir gently with a dough whisk or your hand until the starter is milky and fully dispersed. Add 500g of unbleached bread flour and mix just until no dry flour remains. Cover the bowl with a damp towel or shower cap and let it rest for 45 minutes to allow the flour to fully hydrate.
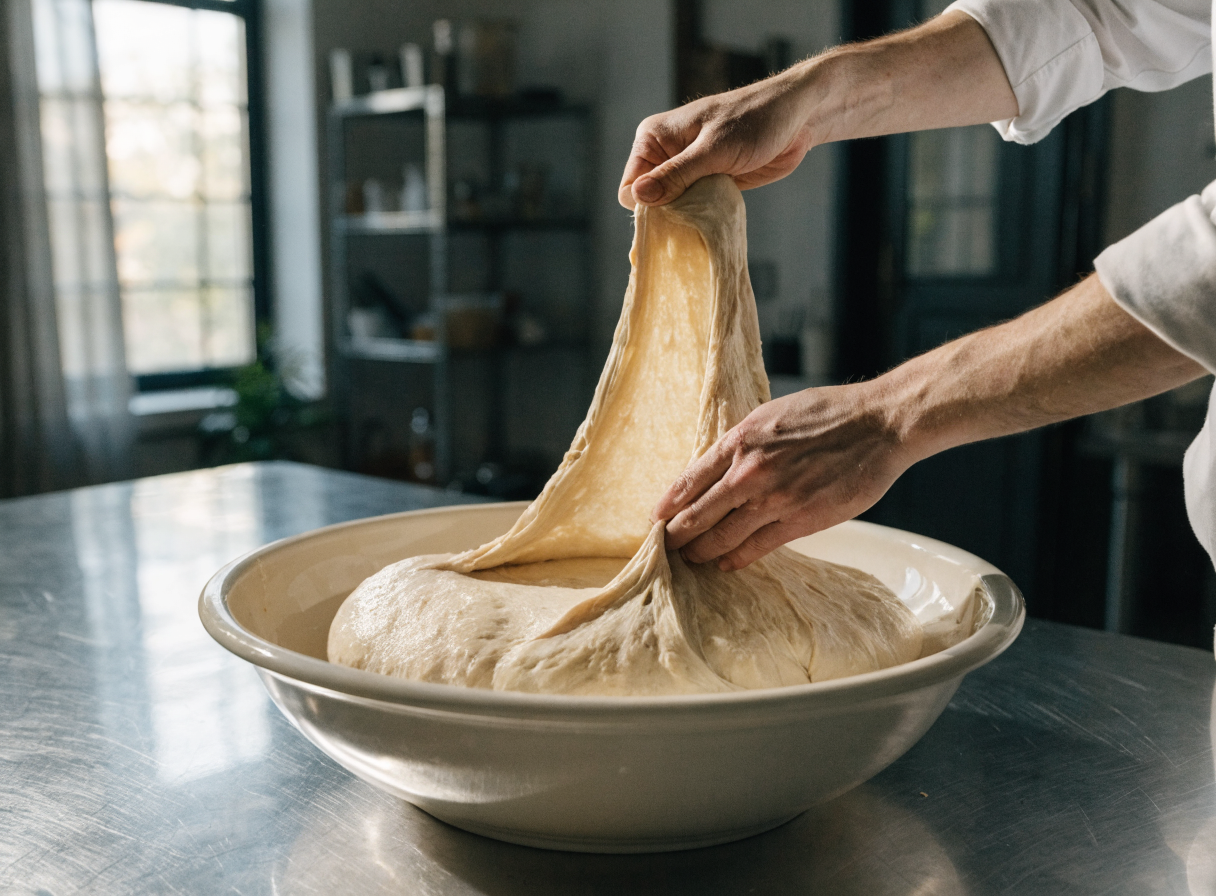
- Incorporate Salt and Build Gluten: Sprinkle 10g of fine sea salt and 20g of reserved water (if needed to dissolve) over the dough. Dimple the salt into the dough with your fingers, then pinch and fold the dough over itself until the salt is completely integrated. Begin your series of stretch-and-folds: grab the underside of the dough, stretch it upward gently until you feel resistance, and fold it over the top. Rotate the bowl 90 degrees and repeat this process four times per session. Perform this every 30 minutes for a total of four sets during the first two hours of bulk fermentation.
- Bulk Fermentation: After your final stretch and fold, cover the bowl and leave it undisturbed in a warm spot (ideally 78°F to 82°F) to complete bulk fermentation. The dough is ready when it has increased in volume by roughly 50% to 75%, shows delicate gas bubbles underneath the surface, and jiggles slightly when the bowl is shaken. This usually takes between 4 to 6 hours depending on your ambient room temperature.
- Pre-Shaping and Bench Rest: Turn the fermented dough out onto a lightly floured countertop using a bench scraper. Round the dough gently into a loose sphere using your scraper and hands to build initial surface tension. Let the dough rest uncovered on the counter for 25 to 30 minutes. This “bench rest” relaxes the gluten structure so it can be shaped tightly without tearing.
- Final Shaping: Flip the relaxed dough ball over onto a lightly floured surface. Fold the bottom edge up to the middle, bring the right and left sides inward like an envelope, and roll the dough upward from the bottom to create a tight cylinder or boule. Use your hands to drag the shaped dough toward you across the unfloured counter surface to create friction and tighten the outer skin. Dust your banneton proofing basket generously with rice flour, then place the dough inside seam-side up.
- Cold Retardation: Cover the banneton with a plastic bag or reusable cover and place it in the refrigerator for 12 to 24 hours. This cold slow-fermentation phase develops complex sour flavors and firms up the dough structure, making it exceptionally easy to score cleanly.
- Scoring and Baking: Place your heavy cast-iron Dutch oven with its lid on inside your oven, and preheat the oven to 450°F (230°C) for at least 45 minutes. Turn the chilled dough out of the banneton onto a sheet of parchment paper. Use a sharp razor lame to make a swift, decisive 1/4-inch deep slash at a 30-degree angle across the top of the dough. Carefully lower the dough (using the parchment paper as a sling) into the preheated Dutch oven, place the lid on immediately to trap steam, and bake for 20 minutes.
- Uncovering for a Golden Crust: Remove the lid from the Dutch oven to release accumulated steam, then continue baking for an additional 20 to 25 minutes until the crust is a deep, mahogany brown. Transfer the baked loaf to a wire cooling rack and allow it to cool completely for at least 2 hours before slicing. Cutting into warm bread will gum up the interior crumb and ruin your hard work! For expert tips on sourcing alternative flours and historical baking insights, visit The Fresh Loaf community.
Mastering the Art of Easy Homemade Sourdough Bread
Once you have baked your very first successful loaf, you will quickly realize that making easy homemade sourdough bread is as much about intuition as it is about strict measurements. Pay close attention to how the dough feels in your hands. High ambient temperatures in summer will speed up fermentation significantly, requiring fewer hours on the counter, while chilly winter mornings will demand extra patience or a proofing mat to keep your wild yeast active and thriving.
If you find yourself with extra leftover sourdough discard or want to expand your baking repertoire into other comforting meal categories, you can easily pair your freshly baked artisan slices with hearty mains. Try serving toasted sourdough alongside a rich chicken marsala recipe restaurant quality italian comfort food made easy or use it to mop up the savory garlic-infused sauces from a pan of tomato basil salmon. For a refreshing contrast to warm, crusty bread, whip up a vibrant cucumber tomato salad dressed simply in olive oil and red wine vinegar.
Storage, Freezing, and Reheating Best Practices
Proper storage ensures your labor of love remains fresh, delicious, and enjoyable for days after baking.
- Room Temperature Storage: Store your cut loaf cut-side down on a wooden cutting board covered with a clean linen cloth or paper bag for up to 2 days. Avoid storing sourdough in airtight plastic bags at room temperature, as this traps moisture and softens the crispy crust.
- Freezing Instructions: To freeze for long-term storage, slice the cooled loaf completely, separate the slices with parchment paper, and place them inside a heavy-duty freezer bag for up to 3 months.
- Reheating Method: To restore that freshly baked crunch, take frozen or stale slices straight from storage and toast them in a toaster oven or standard toaster. If reheating an entire loaf or half-loaf, mist the crust lightly with water and bake in a 350°F oven for 10 minutes.
Frequently Asked Questions
Can I use all-purpose flour instead of bread flour?
Yes, you can substitute all-purpose flour for bread flour, but because all-purpose flour has a lower protein content, your dough will produce a slightly less chewy crumb and may spread out more during baking. For the best structural results when making easy homemade sourdough bread, sticking to high-protein bread flour is strongly recommended.
What should I do if my dough feels too sticky to handle?
High hydration doughs naturally feel sticky, especially to beginners. Wet your hands slightly with cool water before touching the dough during stretch-and-fold sessions to prevent it from sticking to your skin. Avoid the temptation to dump extra flour into the dough, as this alters the hydration ratio and makes the final crumb dense.
How do I know when my sourdough starter is ready to bake with?
Your starter is ready when it has doubled or tripled in volume within 4 to 8 hours of being fed, looks extremely bubbly and aerated, smells pleasantly yeasty and slightly tangy, and passes the “float test” (a small spoonful of starter dropped into a glass of water floats on the surface).
Why did my sourdough loaf turn out dense and flat?
A dense, flat loaf is usually caused by an under-fermented bulk phase, an inactive or weak sourdough starter, or over-handling the dough during shaping which knocks out all the trapped fermentation gases. Ensure your bulk fermentation goes far enough that the dough shows visible aeration before you shape and refrigerate it.